 Ashokan Sword 2005 Conference Review Ashokan Sword 2005 Conference Review
By Stewart Feil and Brian Hunt
September 16-18, 2005 marked the third conference held by the New England
Bladesmith Society dedicated exclusively to swords. ARMA Senior Free Scholar
Stewart Feil and ARMA General Free Scholar Brian Hunt were invited fill
in as demonstrators of European Swordsmanship in lieu of John Clements
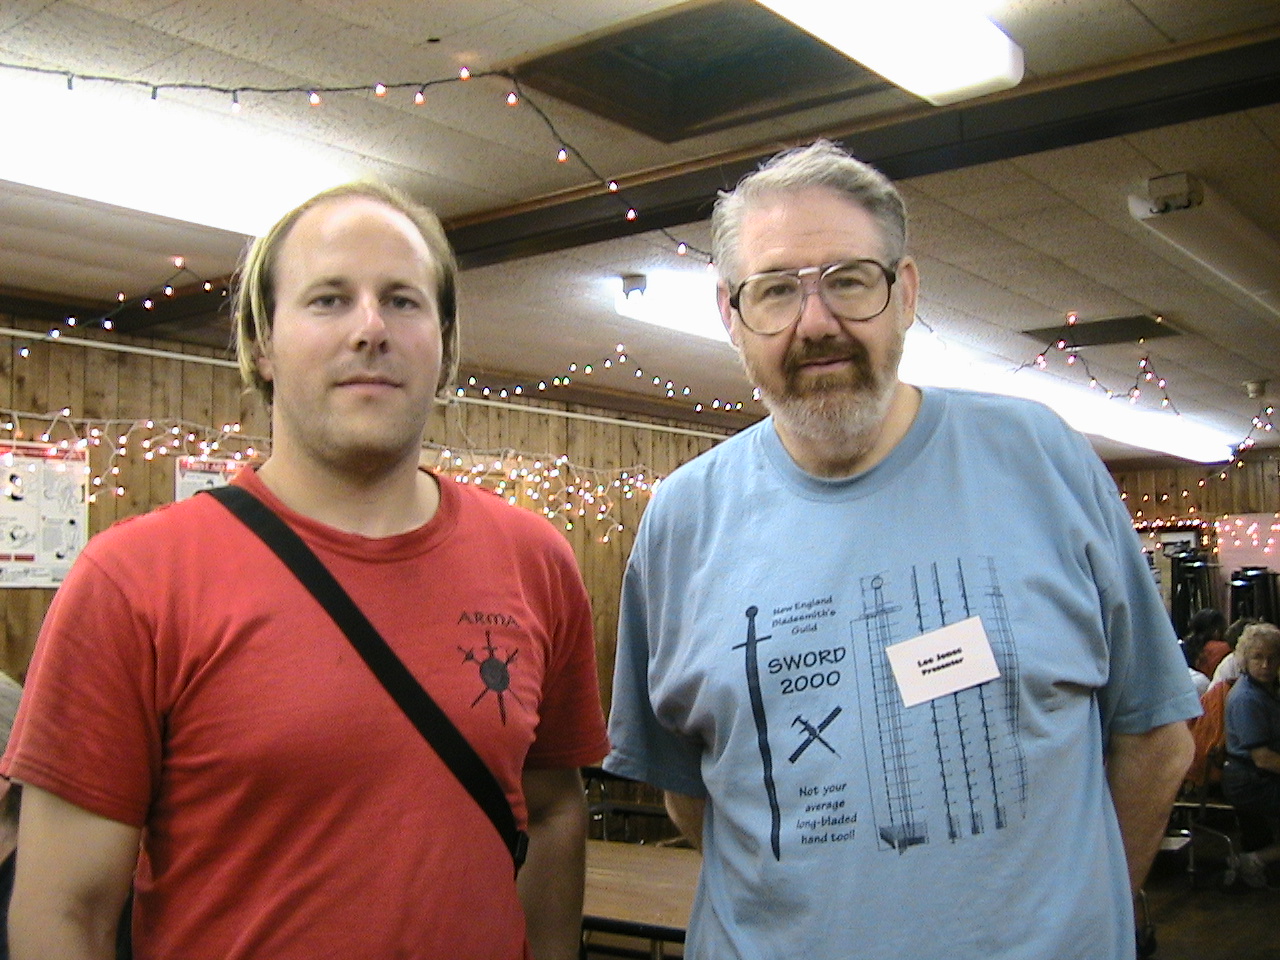
absence, who had presented at the prior Ashokan Sword event. ARMA's presence was strong with the attendance and presentations
from advisor's Dr. Lee Jones, Dan Maragni, and Paul Champagne.
The first night started an introduction and welcome by Dan Maragni. Dan
introduced the presenters of the conference and spoke of the purpose of
the weekend-to bring blade smiths and blade users together to promote
mutual understanding and cooperation in the re-creation and knowledge
of swords. Dan Maragni also spoke about the need to remove the fantasy
and misconceptions about swords in general.
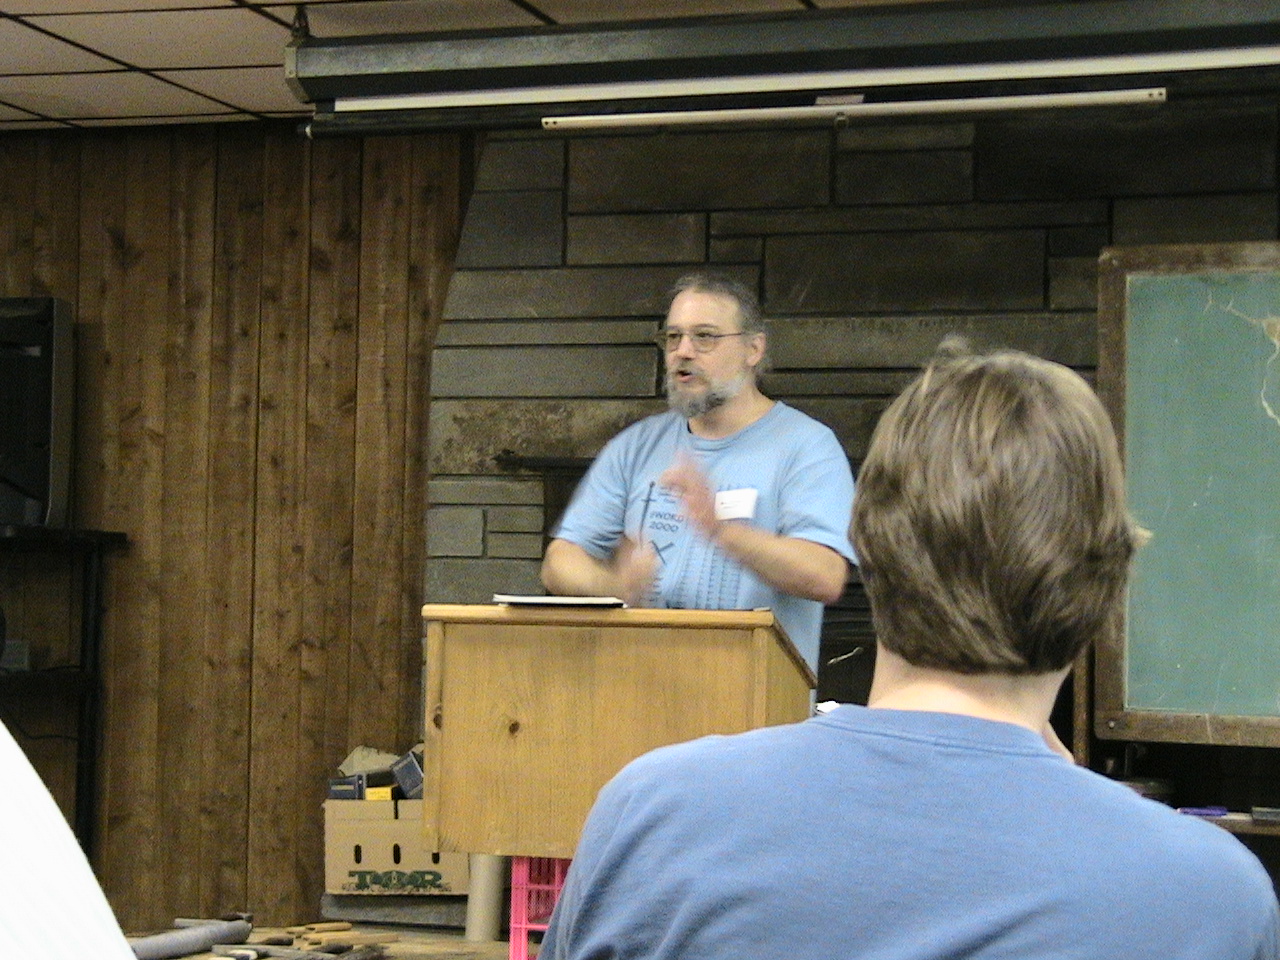
Dr. Lee Jones began the presentations with a discussion of pattern welding
and layering in swords. He shared images and showed pieces from his extensive
collection. Unfortunately he only brought one specimen of a European sword-a
Viking era sword that displayed the skill in patter welding developed
early on in Europe. Dr. Jones discussed the various ways that smiths from
all regions and times have manipulated the grain structure of steel for
both mechanical and aesthetic purposes in the making of swords. He discussed
how texture comes from impurities in steel and discussed several different
types of manipulation from various materials.
Following Dr. Jones, Scott Rodell offered a brief introduction
to the swords of China. His discussion covered the forms and histories
of the swords, as well as the misconceptions of Chinese martial arts. "Most of what you see regarding Chinese Martial Arts and arms is
pure nonsense," said Scott. He also covered the frustrations he had
experienced in re-creating a practical martial art based upon the traditions
that were passed down to him from his instructors. Regarding this he said,
"We have the form, which is kind of a Textbook, but people have forgotten
the use of what is in the forms." He discussed the fact that real
martial arts are not like they are shown in the movies, and that "to
truly understand the effects of swords on people, one must study history." Then he went into the various types of pattern welding found in Chinese
swords, and how for the longest time he has had trouble getting people
to believe that Chinese swords were made using pattern welded steel in
a similar manner to Japanese swords, but people don't want to believe
what is in front of them, especially when it counters carefully cherished
beliefs. He then moved onto the different forms or types of Chinese swords
and mentioned that different swords play differently, so you must know
the various weapons and how they were used.
The second day Started with a very involved presentation by Michael McCarthy
on Bloomery Smelting-this is the ability to make steel with nothing more
than building a smelter from local clay that you dig up out of the ground,
using magnetite sand, wood charcoal, and an air source to smelt your own
steel bloom. McCarthy's instruction on bloomery smelting continued later
in the day with hands-on instruction for refining.
At this point we moved locations from the lodge to a covered pavilion
area to hear from Scott Rodell on the techniques of the Chinese sword.
He discussed the fact that the Chinese sword arts, much like those of
Europe, are a lost art. While the sword forms still exist, their meanings
have been lost in time until they have become ghosts of what they meant.
Scott's work has been similar to that of ARMA: recreation of that which
is lost. Without written texts to work from, the Chinese arts are being
reformed through experimentation of what is in the oral sword forms. This
is a difficult task, and he figures that they are at least 10 years behind
ARMA in this quest. He then went on to demonstrate various stances, attacks
and defenses that they have brought back from the various forms.
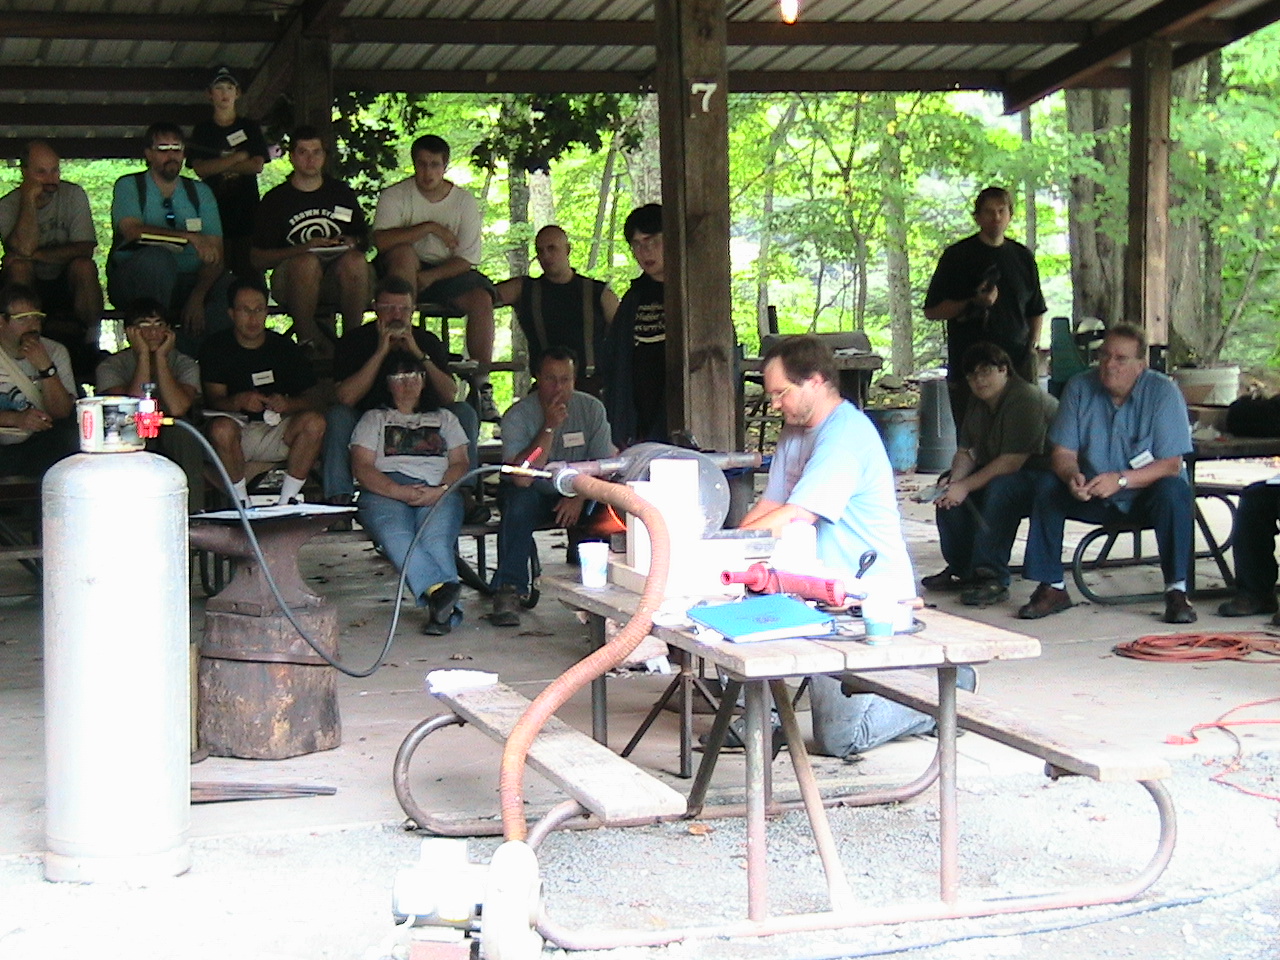
Next was a lecture from Ric Furrer on the creation of crucible steel.
Crucible steel is a way to take raw elements, iron ore, carbon, flux,
and additional elements such as nickel, or vanadium and place them in
a clay crucible sealed with melted green glass, such as that found in
Heineken bottles, and place it in a fire in order to melt everything into
a homogenous ingot of steel. This is done for 4-6 hours at 3000 degrees
in a charcoal or coal forge. The reasons to take up making crucible steel
is so that you can control all of the elements of your steel and create
your own type of steel that you cannot purchase commercially. It would
be foolish and not cost effective to try and recreate available commercial
steels.
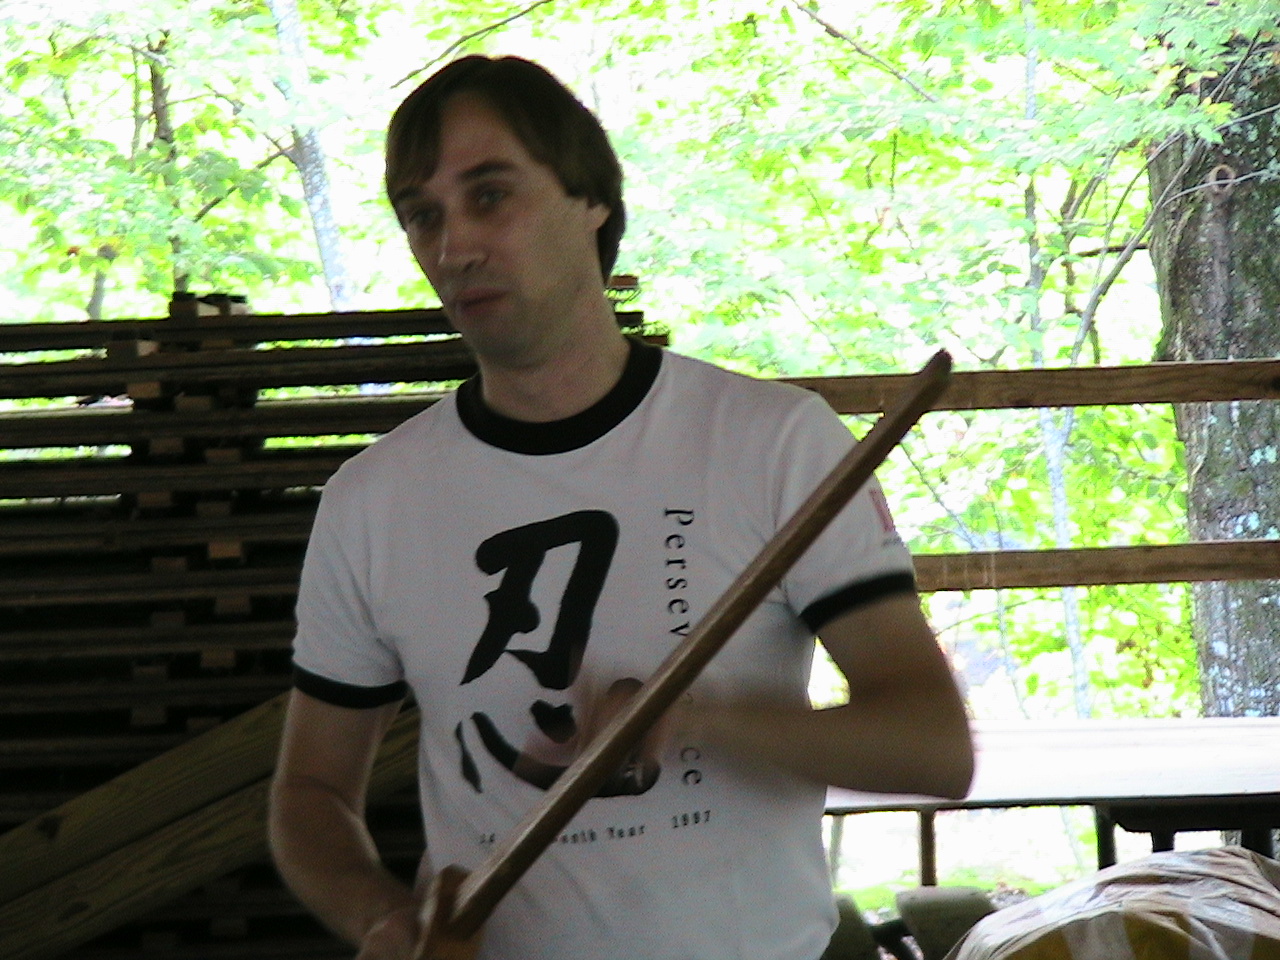
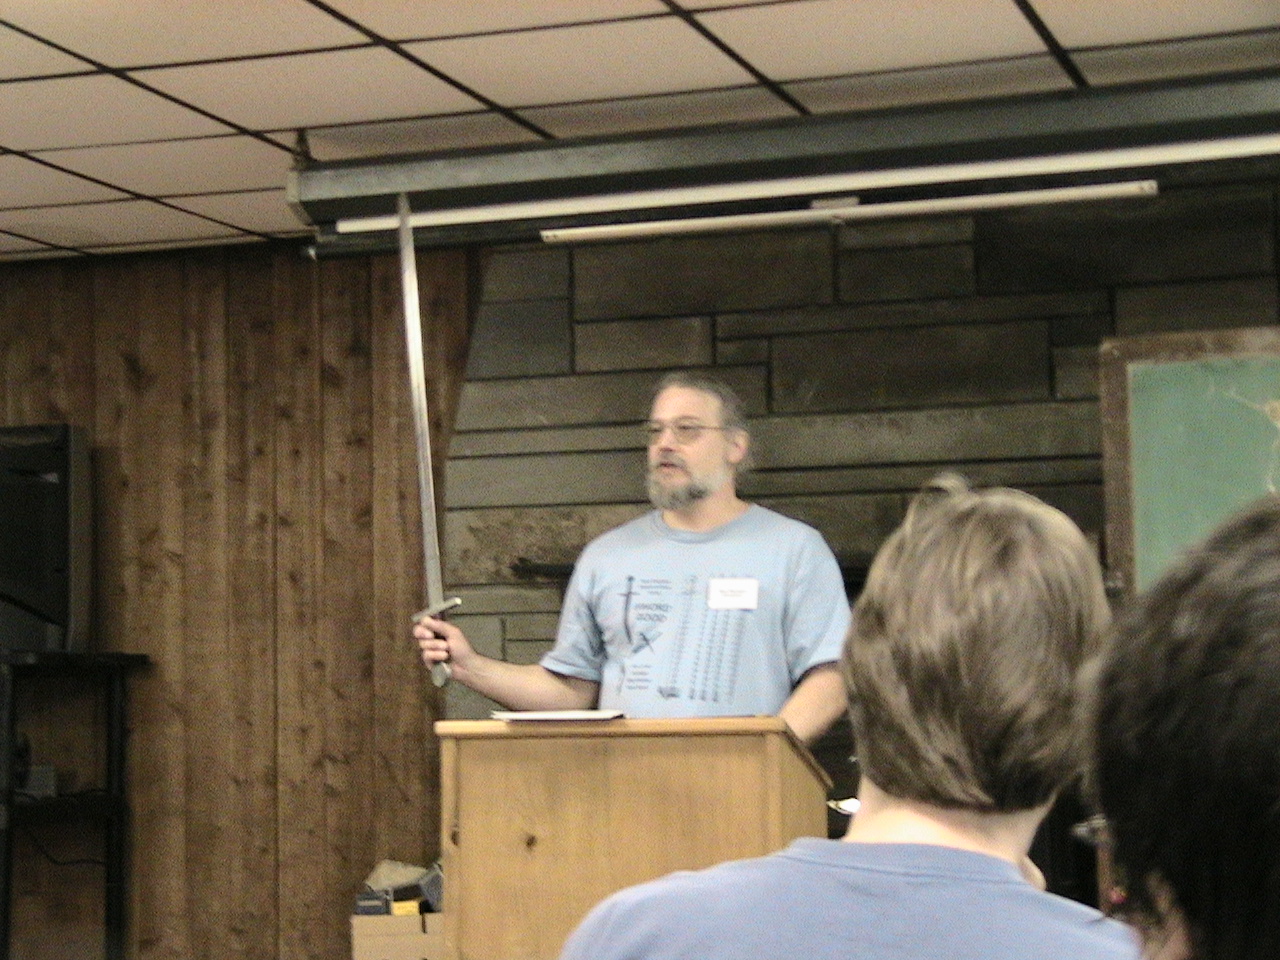
After Lunch, we moved our equipment up to the covered pavilion to give
a demonstration on European Longsword Techniques. Stewart took the lead
as the primary speaker with interjections and comments from Brian. We
started off discussion some of the things that we as swordsman look for
in a sword, as opposed to someone who was just looking for something cool
to put up in their living room. We discussed the various parts of the
sword as they pertain to a swordsman, as opposed to the way that a smith
would look at a sword. We discussed the fact that the western martial
arts fell into disuse with the advent of the gun, and how we are recreating
them from various manuals that were written from the 13th century on up.
We then proceeded to discuss the various concepts of fencing, including
the 4 main guards, the 8 cuts, ti-progressions, how to correctly displace
your opponents sword, why we don't parry edge to edge, the master cuts,
a few basic techniques, did a little freeplay so they could see what a
fight between longswordsman would look like, then did a question and answer
session. The Presentation was well received despite the torrential downpour
that occurred in the middle of our presentation, and that night after
dinner, we were bombarded with various questions of why, wherefore, what
if, and how would you.
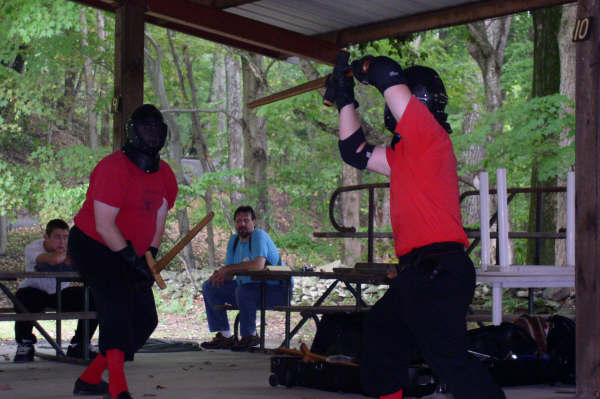
[Photo by Phillip Baldwin and P.A.
Stephens]
After that Kevin Cashen took the stage to show us how he does basic pattern
welding. He discussed safety, the basic concept of how to make a proper
weld, various ways to manipulate the patterns. Then proceeded to weld
up a layered billet. Kevin Cashen is very skilled at this type of forging.
After the weld was set, he let the steel cool down some, but not completely,
used a 4 inch angle grinder to clean one of the faces, then used the same
grinder with a different wheel to cut most of the way through the other
side of the billet from the one he had cleaned, place the billet back
in the forge, brought it up to a red head and bent the cleaned face over
top of itself, refluxed the billet, and placed it back into the forge
to bring it back up to welding heat and set the new weld. This process
will be repeated adnausium until the desired number of layers of steel
is achieved. At any point in this process various techniques, mentioned
by Dr. Lee Jones, may be brought into play to manipulate the patterns,
twisting, cutting through the layers, EDM, etc. The layers of pattern
welded steel increase incrementally. If you start off with 3 layers of
steel, they will increase to 6, then 12, then 24, then 48, etc., each
time you fold and weld the billet. After the billet is formed, it can
be drawn out and forged into a knife or a sword.
After Kevin Cashen's presentation, the sky had cleared up enough for
Tom Walter to set up on the grass by the pavilion for a demonstration
of Japanese Tamashigiri cutting. He started by discussing some of the
elements of Japanese swordsmanship and the reasons they cut, he also said
that like the European sword, there were 8 basic cuts. For cutting purposes,
they had the grass mats rolled around green bamboo so that they could
easily stand them in the earth, or in a couple of home built cutting stands
they had with them. As well as cutting grass mats, he also cut cardboard
tubes (which the katana could not cut all the way through), green bamboo,
cattail leaves and cattails. He also cut with Dan Maragni's Norman sword,
which interestingly enough, out cut the Katanas that he had there. When
Dan brought the Norman sword out, he just threw in on the ground, and
when people gasped, he said "What, it's just a tool." We were
each able to do some test cutting with the Norman sword on the remains
of the grass mats and bamboo. The Norman sword was so solidly constructed
that it rang like a bell upon impact with a target.
From here we moved back to the lodge for a lecture by Ann Feuerbach,
Ph.D. The gist of the lecture was about the history of Crucible steel
from an archeological point of view. She had many slides of excavations
of known crucible steel production facilities in the ancient past in areas
of the Middle East, and the economic impact these would have had on the
regions.
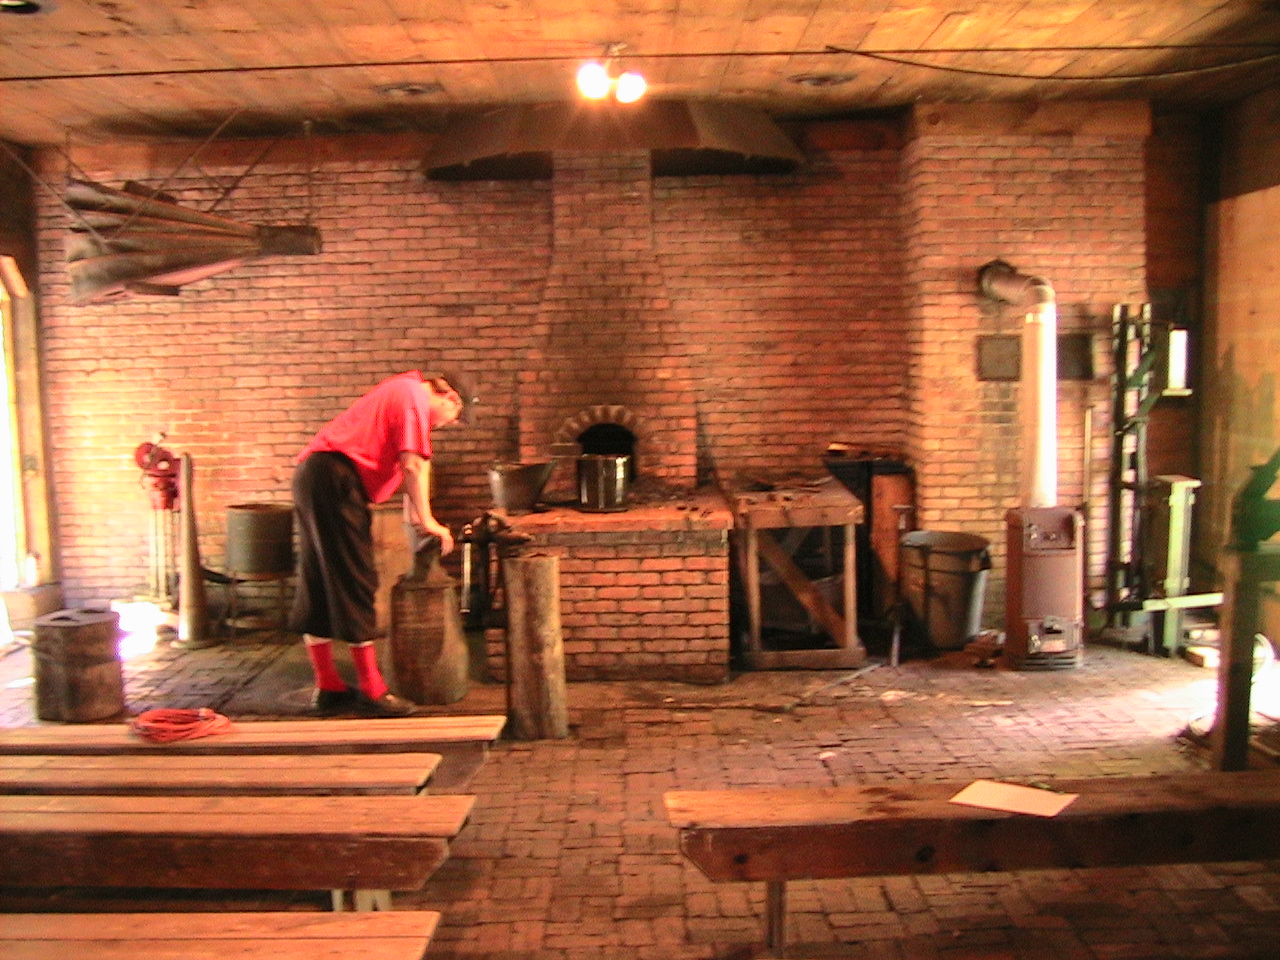
After dinner we marched up to the onsite smithy to see a demonstration
of high tech heat treatment. This involved the use of electro statically
controlled High temp and Low Temp salt pots. Tim Zowada, the gentleman
giving the demonstration, is a dealer for these high tech units. They
involve the use of both high and low temperature salts that are heated
to a specified temperature, depending upon what type of steel you are
heat treating. The high temp salts are set at the critical temperature
of your steel, and the low temp salts are set at the temperature you would
temper your blade to. Mr. Zowada started off with a piece of tool steel
bar stock and heat treated it by 1st placing it in the high temperature
salts, and bringing it up to heat in the bath. After bringing the bar
stock up to a nice bright cherry red, he pulled the rod out of the high
temperature salt bath and plunged it down into the low temp salt bath
in order to quench it. After a few moments in the low temp bath, he pulled
out the bar stock and finished cooling it in a water bath while explaining
that he normally let the steel air cool, but for demo purposes he quick
cooled it. He then broke the steel at it's hardest point by striking it
over the edge of an anvil in order to pass it around and show how uniform
the grain structure was.
He then brought out a beautiful Tulwar style sword blade to show a sword
heat treatment. After the sword came up to Temperature, he then quenched
it in the low temp salt baths and agitated it to achieve a uniform quench.
After the sword was at the same temperature as the low temp salts, he
determined that it was pretty straight except for a slight bend towards
the tip of the blade. In order to straighten it, he bent it by hand over
the edge of the anvil. After the blade was straight, he let it cool down
in the air to finish its heat treat.
Next Ric Furrer discussed how to forge a piece of crucible steel. He
stated that in his shop he preferred to work the steel with the use of
a hydraulic press, that it gave him greater control over the speed with
which he worked the billet. The top of the billet is where the greatest
impurities are, so that is the part you want to keep at one end and draw
the rest of the steel away from this end of the billet, that way you can
then cut off the worst of the impurities, and use that end for the tang
where any imperfections won't show in a finished blade. During the course
of his lecture he had been heating a piece of crucible steel he had prepared
for this demo, and slowly started to work it with a hammer, taking his
time and using many heats to start refining it.
While Ric had been working with his crucible steel, Phillip Baldwin had
been burning a large amount of hard wood over a 2 inch steel pipe with
a series of holes drilled in it with firebricks defining a long narrow
trench for the fire. He was building a bed of coals for his low-tech heat
treatment process. He filled a steel upright tube full of quench oil,
setup up a vice, and placed a set of upright bending forks into the vice.
When Ric's demo was finished he had a nice deep bed of coals ready to
start the heat treatment of one of 2 short sword blades he had brought
with him. He allowed the audience to choose which one they would like
to see heat treated, and they chose the one that closely resembled a leaf
bladed gladius.
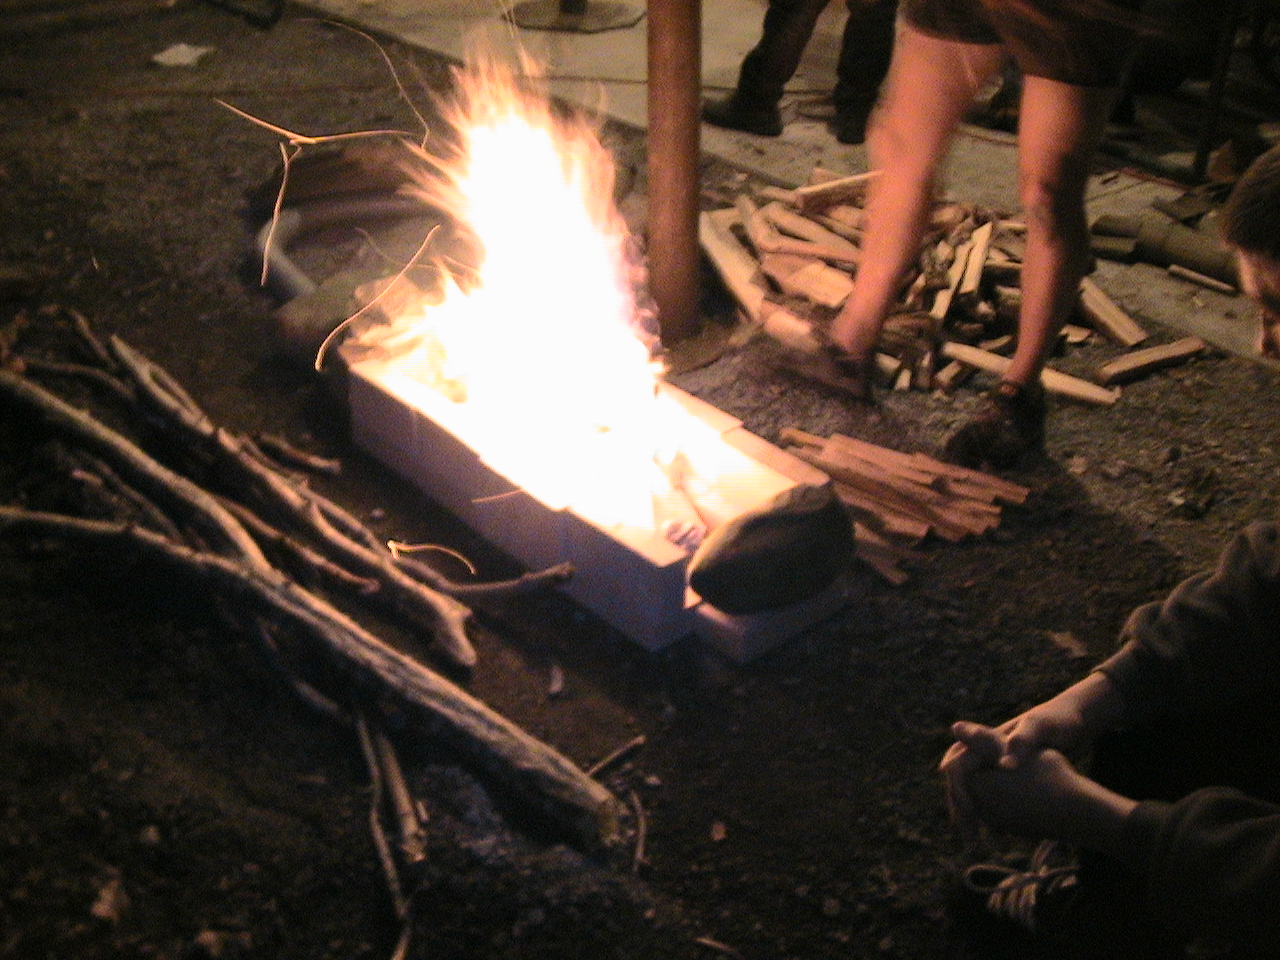
He took the blade and buried it in the wood coals directly over the pipe,
then proceeded to slowly crank a hand held blower fan connected by a hose
to one end of the pipe or tuyre. Through the careful use of air with both
the blower and a garbage can lid used like a large fan, he slowly brought
the steel up to a critical temperature. He then quenched and straightened
the blade, then continued by tempering the blade in an olive oil bath
over the same bed of coals.
That was the end of the demonstrations for the day, and the beginning
of the open forge where anyone who wanted to could beat out some steel.
During this time period we were bombarded with all sorts of questions
about the fighting arts of Europe. It was a late night for both of us.
The next morning Dan Maragni took the stage to discuss the process for
reconstructing a medieval sword. He started off discussion that one must
research the sword thoroughly. First you have to measure all three dimensions
of the sword, the width, length, cross-section, weight, balance point,
etc. Further, you must attempt to discern what the original shape of the
blade may have been for the ravages of time had changed the original dimensions.
He spoke of the importance of the cross section and how different cross
sections will cut better or worse than others. He emphasized this by comparing
the cross section of the katana to the cross section of the Norman sword
he had recreated. The Norman sword has a thinner flatter cross section
at the cop and therefore is a more aggressive cutter than a katana which
has a thicker wedge type cross section. He discussed the importance of
a good solid tang, and the correct geometry and hardness for one to stand
up to the type of impacts demanded of a cutting sword. He discussed that
the entire hilt assembly must be tight or else you will lose some of your
power in the cut. He discussed the importance of destructive testing on
a sword, a good range for the temper or hardness of a blade. Etc.
At this point we were on for our second demonstration on sword and buckler
and rapier techniques and discussion of European sword typologies. We
laid out some of the manuals and some of our training tools on the picnic
table for later examination. In order to draw attention to our class,
we opened up by free playing with blunt steel arming swords and bucklers.
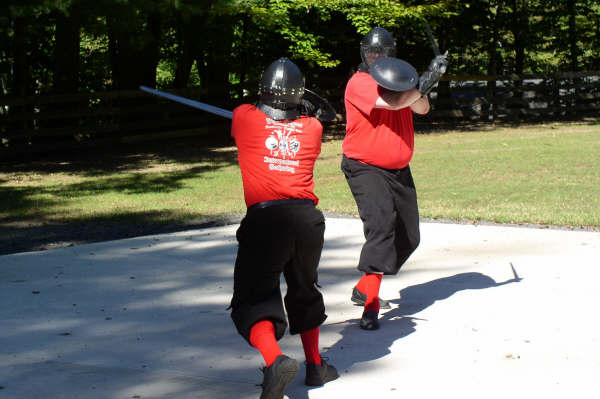
[Photo by Phillip Baldwin and P.A.
Stephens]
This really brought everyone's various conversations to a halt and opened
up the class. We then reviewed a couple of things we had covered with
the Longsword, and tied them into how the same principals applied to the
sword and buckler. We went through some of the basics of sword and buckler
fighting as done in the MS I.33, then we moved onto the rapier.
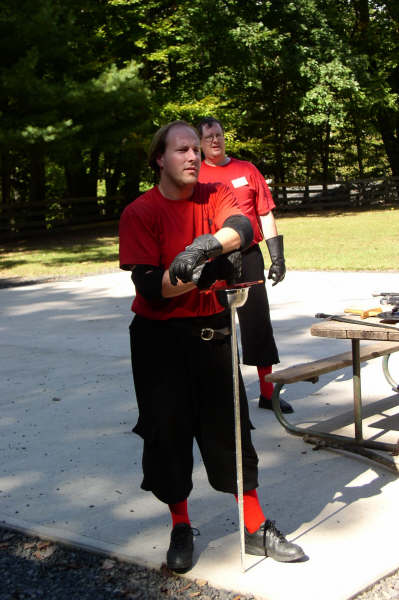
[Photo by Phillip Baldwin and P.A.
Stephens]
Here we discussed the differences between a cutting sword and thrusting
sword. We discussed the 4 Italian rapier guards, and the advantages and
disadvantages of each. We discussed the fact that many rapier duels ended
in a simultaneous death due to the nature of a foining style of fence.
We discussed the use of other weapons in the left hand, such as buckler,
dagger, a cloak, or even another rapier. We then gave a demo of free play
with our fiberglass rapier simulators. We then fielded a Q&A session.
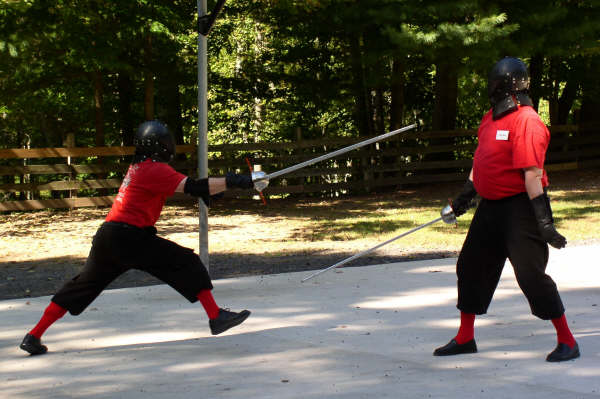
[Photo by Phillip Baldwin and P.A.
Stephens]
After our demo, many of the conference participants wanted to handle our
training equipment and look at the translations we had brought. This was
a good time to really discus many of the aspects of ARMA and its methods
of training.
While we had been giving our lecture, one of the other conference participants
made arrangements with Scott Rodell to spar with Stew with wasters. I
loaned Scott my helmet, and Stew used his. I was given the video camera
and set about filming the encounter. They chose to spar in the shade on
the grass, but this was a tricky surface for both of them due to the still
wet grass. They fought several bouts, of which I believe that Stew came
out ahead. They started off slow, feeling the differences between the
two styles of swordplay. Stew wielded a long sword, and Scott used a Jian.
Scott was frequently driven back by the reach of the Longsword, and Stewart's
aggressive style. All in all it was a fun bout to watch and film.
Meanwhile there was a show and tell going on down in the lodge that we
nearly missed because of the time it took to clean up from our demo, and
Stew's match with Scott. We were fortunate to handle two beautiful pattern
welded swords made by Kevin Cashen. We asked about the possibility of
getting longer blades from him but he said he was limited by the length
of his salt pots. Kevin Cashen's work is beautiful to behold. We would
highly recommend him to anyone looking for a custom pattern welded sword.

Unfortunately, the folks who run Ashokan are very timely folks who kicked
us out on time, so Stew and I had little chance to peruse the rest of
the wares.
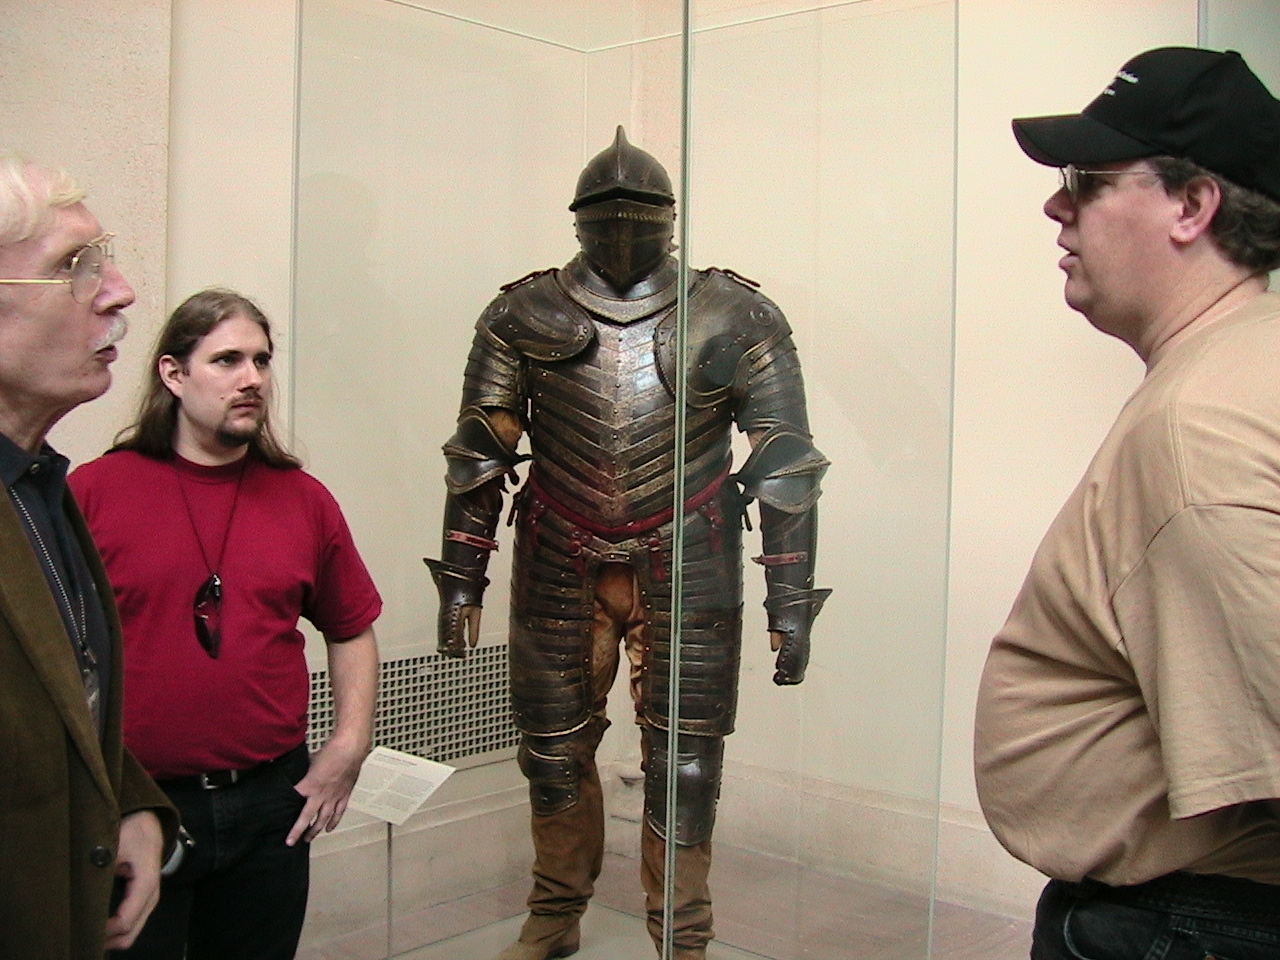
While eating lunch, a gentleman we were sitting with by the name of Sandy
Klein started discussing antique armor and swords with us. I expressed
my disappointment that we were going to be in NYC on Monday, but because
the Met is closed on Monday's we wouldn't be able to see the collection
there. He said that he had a friend at the Met and might be able to help
us. To our astonishment, he managed to get us a private tour of the Met
with his friend Richard Gratkowsky, a curator at the Met and a Master
sport fencer.
Our many thanks to everyone who made this such a great weekend. Everyone
at the event was truly interested in learning, but there was no where
near enough time to spend picking each other's brains. We hope to have
a chance to do this again in the future
|
